三、修改代码
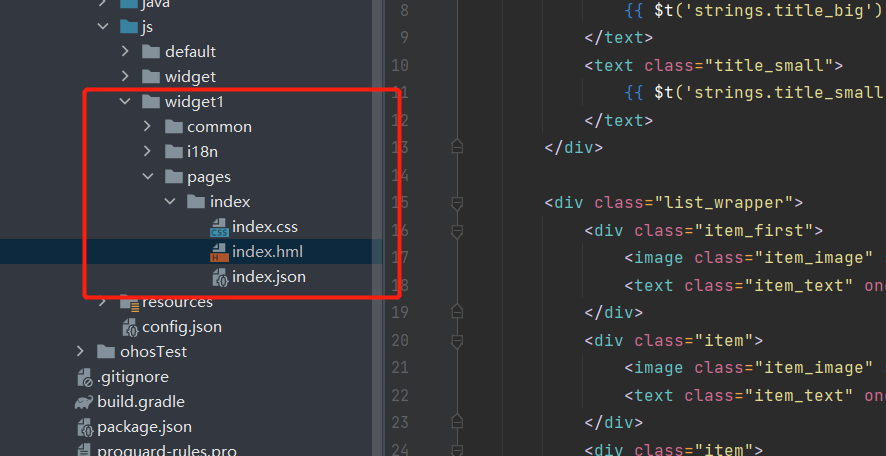
如图7
打开该文件下的index.hml文件,修改代码。
-
-
-
-
-
title_wrapper">
-
- {{ $t('strings.title_big') }}
-
-
- {{ $t('strings.title_small') }}
-
-
-
-
-
- {{ $t('strings.text') }}
-
-
-
- {{ $t('strings.text1') }}
-
-
-
- {{ $t('strings.text2') }}
-
-
-
- {{ $t('strings.text3') }}
-
-
-
- {{ $t('strings.text4') }}
-
-
-
打开该文件下的index.css文件,修改代码(找到对应修改部分)。
- .container {
- flex-direction: column;
- justify-content: space-between;
- align-items: flex-start;
- /*注释代码*/
- /* background-color: dodgerblue;*/
- /* background-image: url('/common/ic_default_image@3x.png');*/
- /* background-repeat: no-repeat;*/
- /* background-size: cover;*/
- }
- /*添加.right-img样式*/
- .right-img{
- width: 40px;
- height: 40px;
- position: absolute;
- right: 10px;
- top: 10px;
- border-radius: 12px;
- }
- /*将.title_big中的font-size: 19px;改为16px*/
- .title_big {
- font-size: 16px;
- font-weight: bold;
- color: white;
- }
- /*适配wearable*/
- [url=home.php?mod=space&uid=205723]@MEDIA[/url] (device-type: wearable) {
- .right-img{
- display: none;
- }
- }
打开该文件下的i18n文件,打开.json文件,修改代码。
zh_CN.json:
- {
- "strings": {
- "title_big": "标题",
- "title_small": "这里是副标题",
- "text": "文本",
- "text1": "文本1",
- "text2": "文本2",
- "text3": "文本3",
- "text4": "文本4"
- }
- }
en_US.json:
- {
- "strings": {
- "title_big": "Title",
- "title_small": "Text",
- "text": "Text",
- "text1": "Text1",
- "text2": "Text2",
- "text3": "Text3",
- "text4": "Text4"
- }
- }
1. 打开js下的default文件,打开pages文件,点击index.hml.如图8所示。
图8
修改代码:
index.hml
- 你好,欢迎来到
- {{title1}}
- {{title2}}
index.css
- .container {
- flex-direction: column;
- justify-content: center;
- align-items: center;
- width: 100%;
- height: 100%;
- }
- .title {
- font-size: 30px;
- color: #000000;
- opacity: 0.9;
- margin: 4px 0px;
- }
- @media screen and (device-type: tablet) and (orientation: landscape) {
- .title {
- font-size: 100px;
- }
- }
- @media screen and (device-type: wearable) {
- .title {
- font-size: 28px;
- color: #FFFFFF;
- }
- }
- @media screen and (device-type: tv) {
- .container {
- background-image: url("/common/images/Wallpaper.png");
- background-size: cover;
- background-repeat: no-repeat;
- background-position: center;
- }
- .title {
- font-size: 100px;
- color: #FFFFFF;
- }
- }
- @media screen and (device-type: phone) and (orientation: landscape) {
- .title {
- font-size: 60px;
- }
- }
index.js
- export default {
- data: {
- title1: "原子化服务",
- title2: "新应用时代和新世界!"
- },
- onInit() {}
- }
四、运行效果
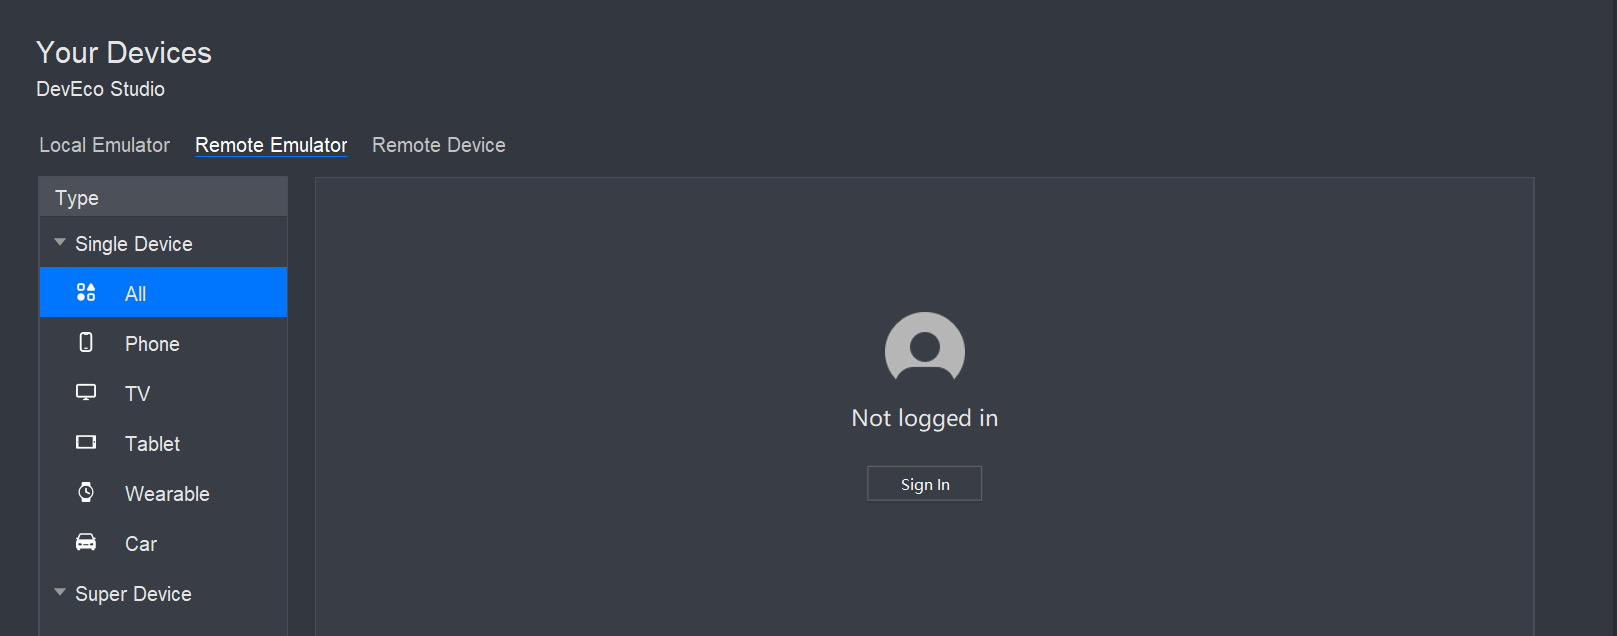
图9
进行登录,如图10

图10
输入你的华为账号进行登录,如图11
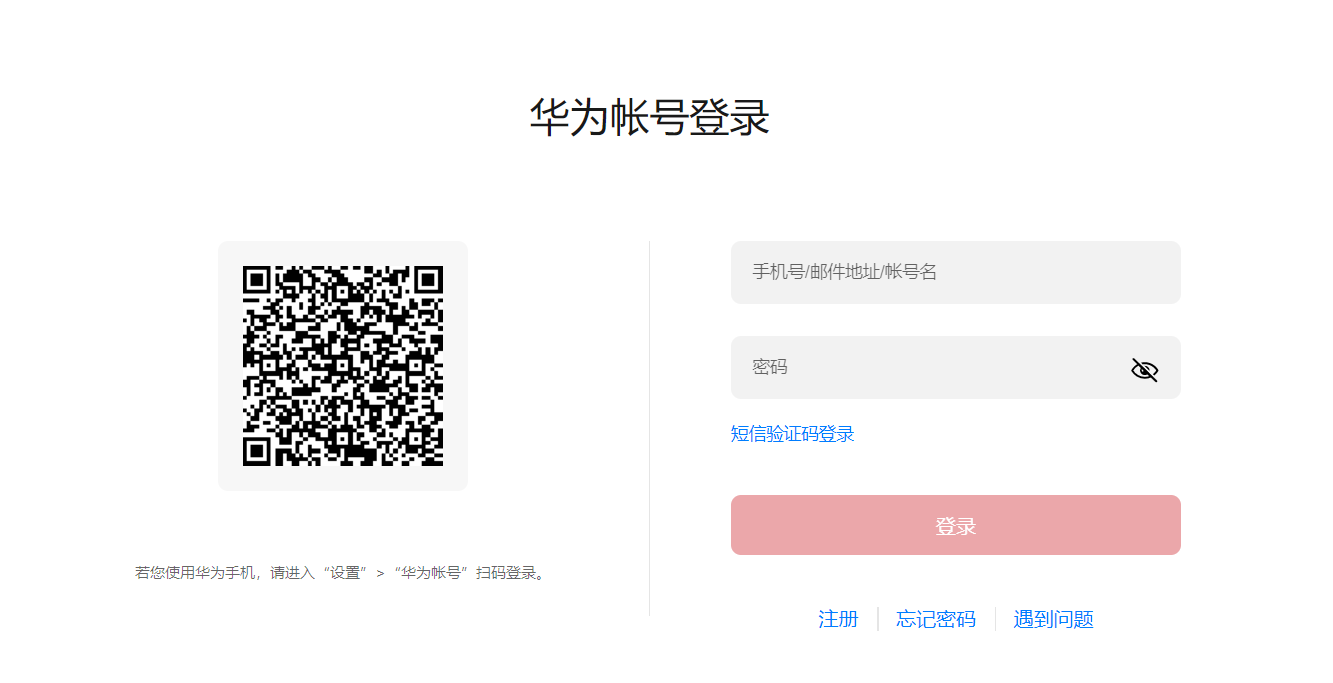
图11
点击允许,如图12
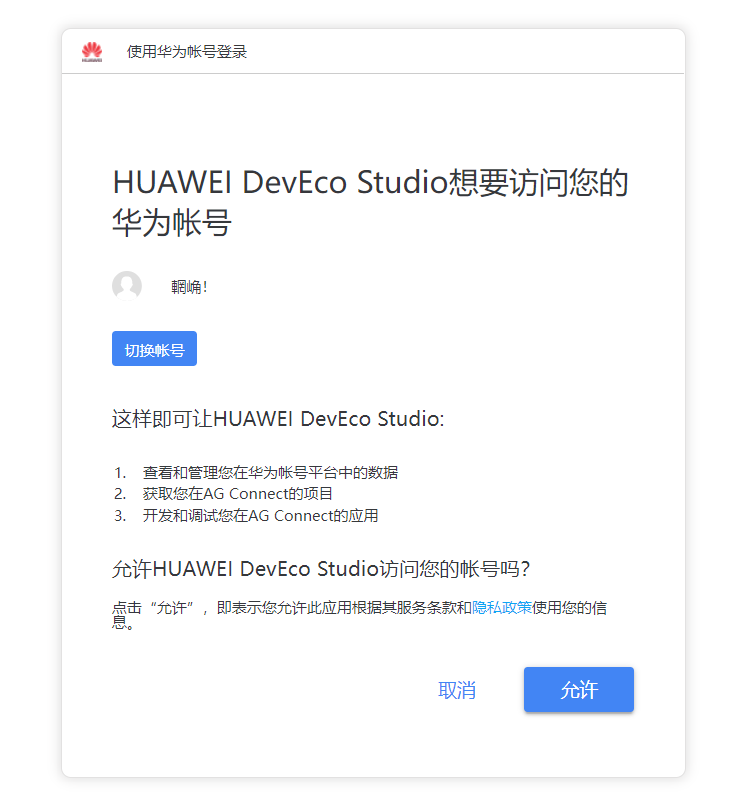
图12
登陆成功,如图13,然后返回DevEco Studio。
图13
图14
开启成功,如图15。
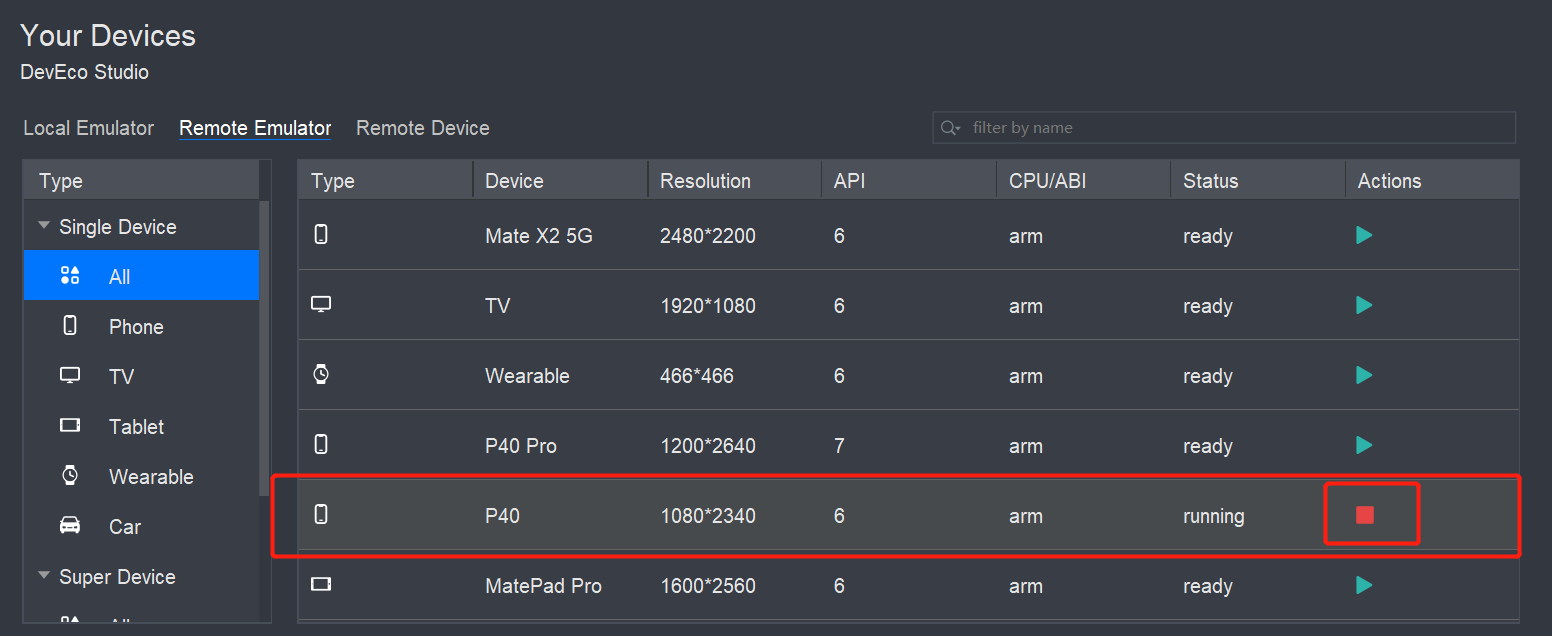
图15
点击小三角运行项目,如图16
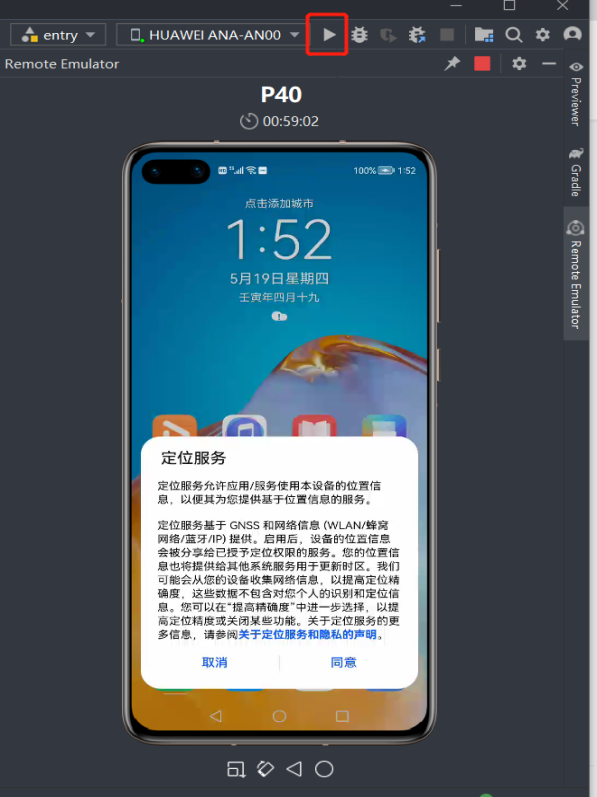
图16
运行成功后会出现初始化页面,如图17
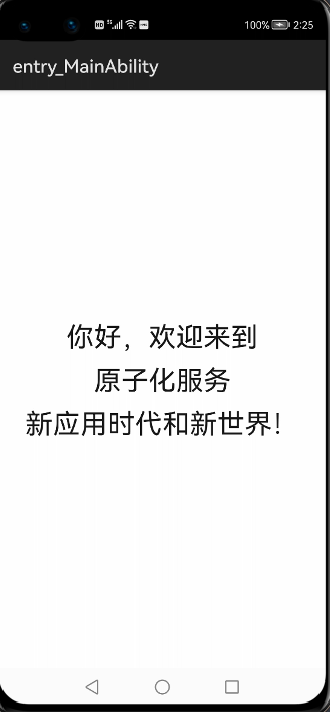
图17
点击模拟器中的home键,回到桌面,然后从左下角或者右下角斜向上滑动,进入服务中心,如图18
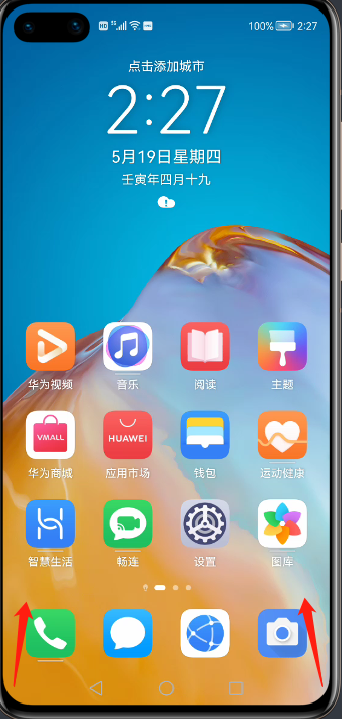
图18
进入服务中心后可以看见创建的卡片(这是项目创建初始化自身就有的卡片widget),如图19
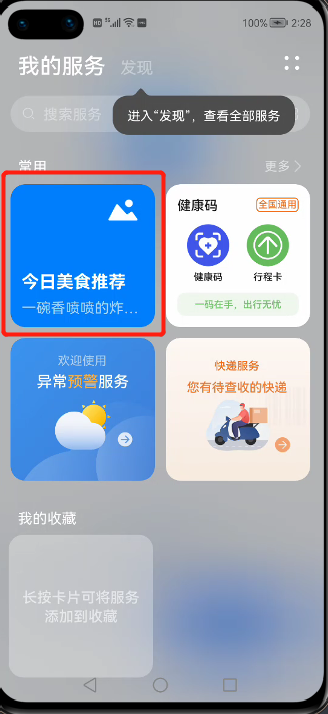
图19
轻按卡片,添加至桌面,如图20
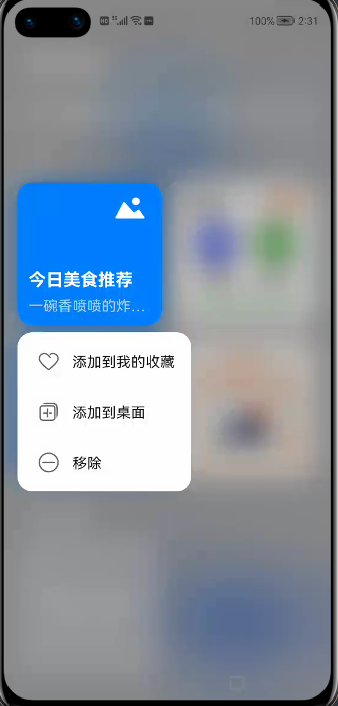
图20
卡片成功添加至桌面,如图21
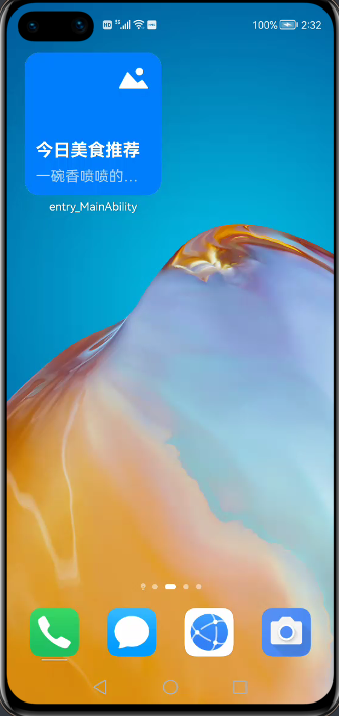
如图21
长按桌面卡片,出现弹窗,单击更多服务卡片,选择我们之前新创建的卡片,并且添加至桌面,如图22、图23、图24
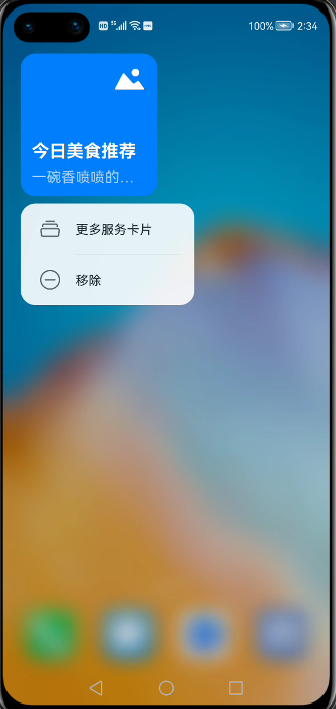
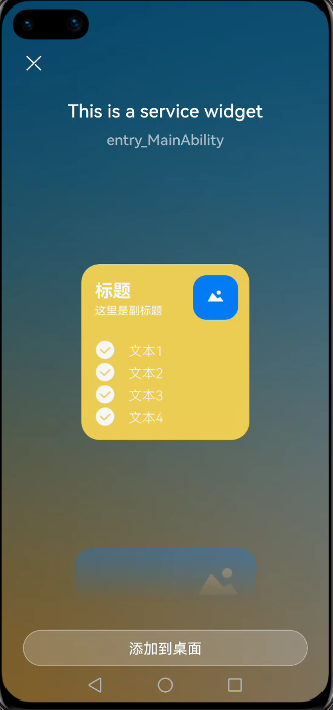
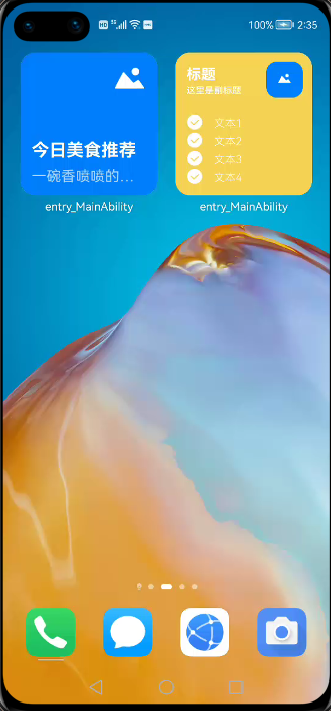
图22 图23 图24
点击新添加至桌面的卡片,回到页面,如图25
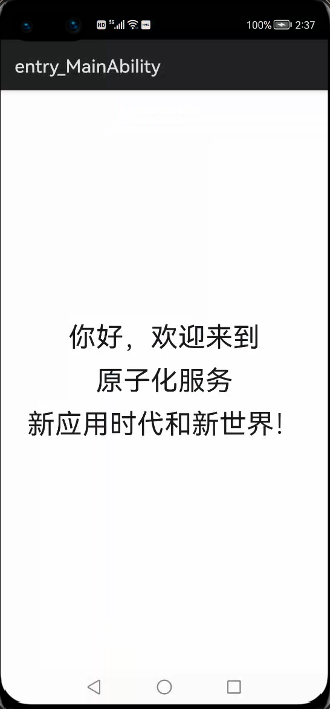
图 25
- 这里想显示其他模拟器效果,重复以上打开模拟器的步骤即可。
其他模拟器卡片效果可用previewr快速预览,如图26打开previewr。
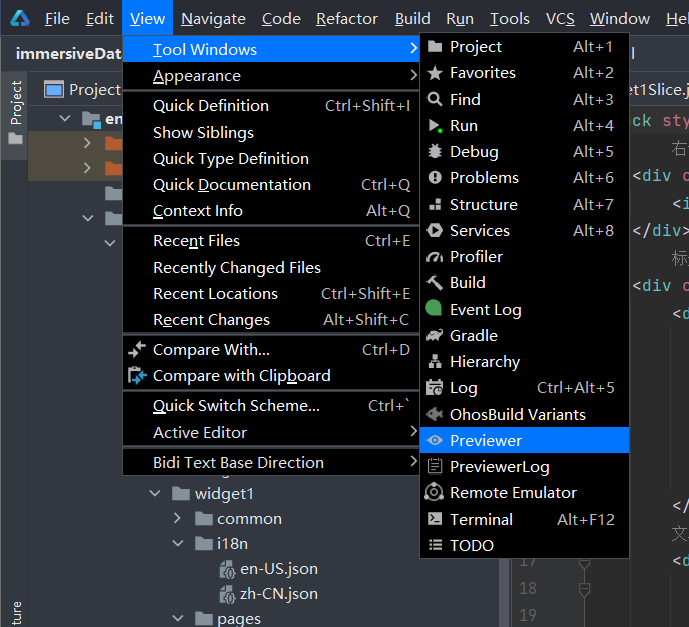
图26


 长按上方图片保存到相册
 复制链接
复制链接