FastAPI服务器搭建与TTS播放
在这一篇中我们需要回到Longan Pi,搭建FastAPI服务器,通过服务器来和PC通信。
先安装对应的库:
pip install -U fastapi uvicorn
这是一种方法,unicorn作为非同步运行库用来运行fastapi。当然根据fastapi的官方文档,还有一种更简单的方式进行安装:
pip install -U "fastapi[all]"
但是根据github中的requirement文件看,这种方式进行安装更多其他的扩展依赖,主要用于Pydantic和Starlette。如果没有需求的话可以用第一种方式进行安装。
接着新建一个python文件,写下以下代码:
from fastapi import FastAPI
app = FastAPI()

@app.get("/")
async def mainapp(question):
    return question

if __name__ == "__main__":
    import uvicorn
    uvicorn.run(app, host="0.0.0.0", port=8080)
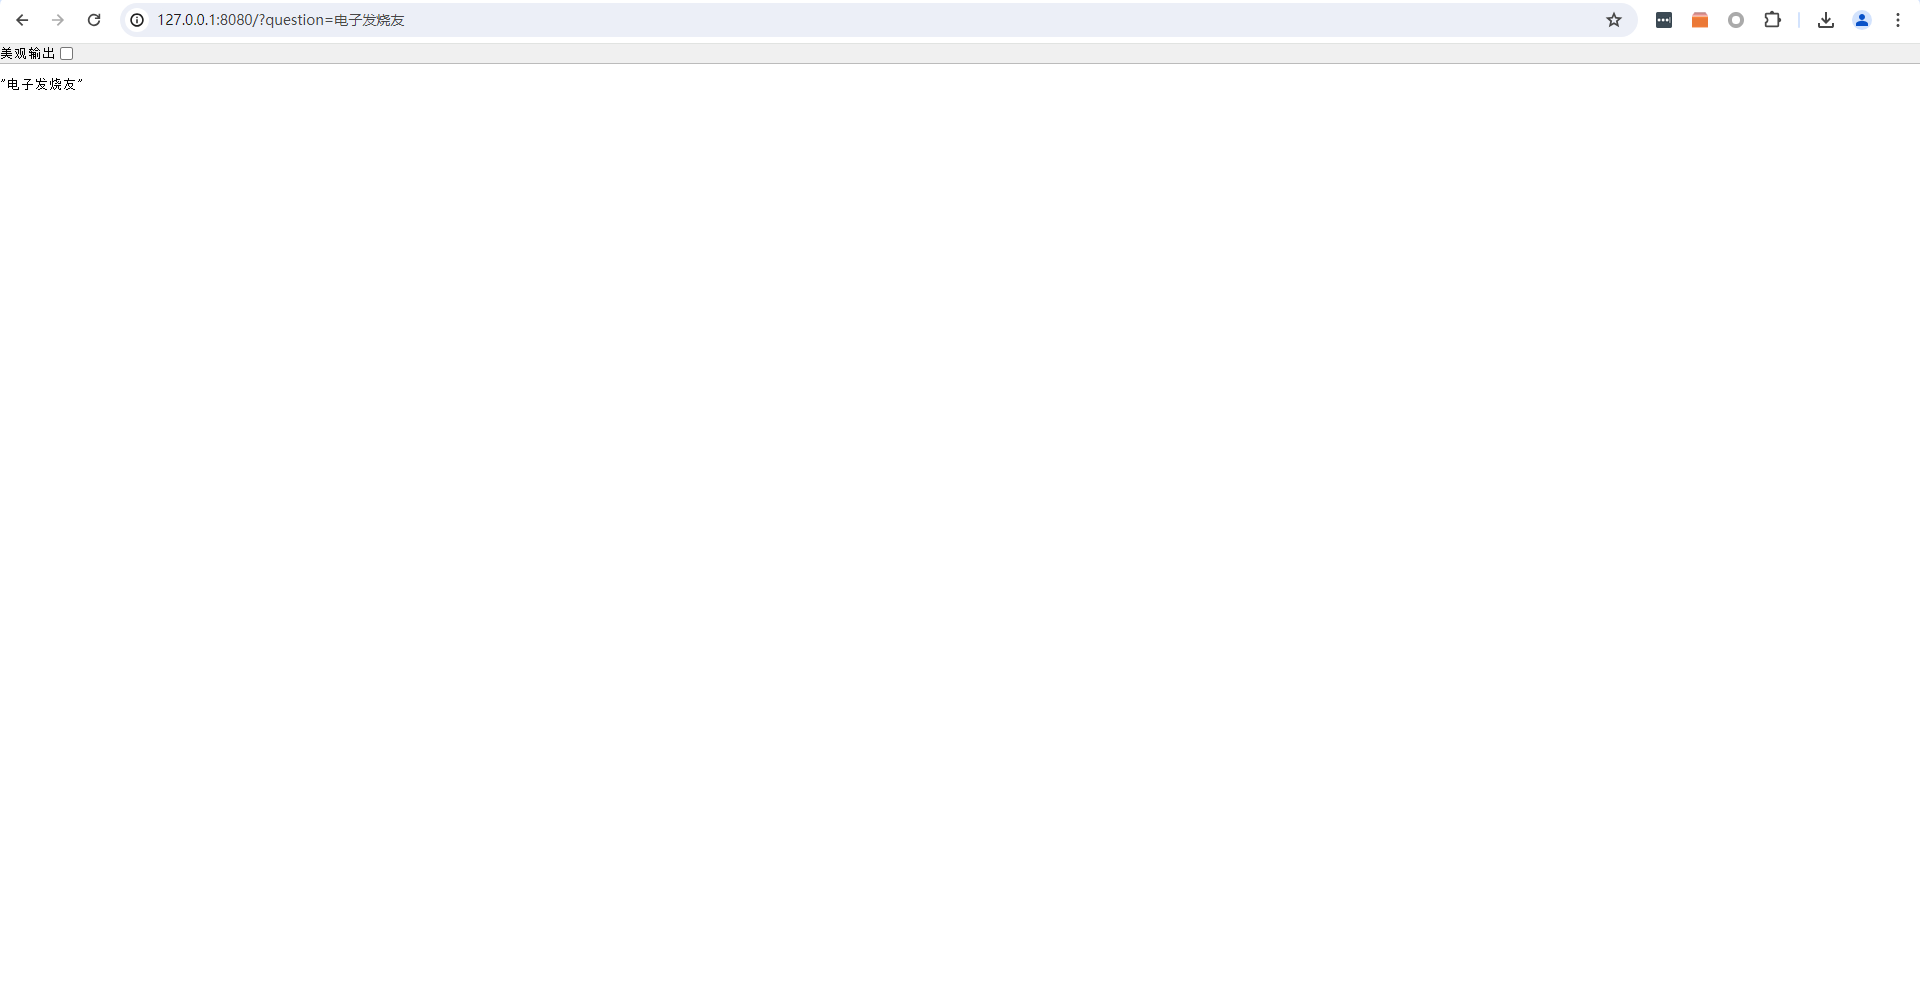
这样就创建好了简单的web服务器,可以通过get方法传入一个名为question的参数。运行起来,输入http://127.0.0.1:8080/?question=电子发烧友可以用浏览器进行测试:
PC端会通过这个question参数将识别到的语音转成文字传入;而在Longan Pi完成全部处理后,需要将文字转回语音返回给PC,那么这一步就需要用到TTS,文本转语音。我使用的是EDGE-TTS库,这个库使用非同步方法来处理流数据,刚好FastAPI也支持非同步方法。
一样的首先需要安装库:
pip install edge-tts
安装完后,可以直接在终端输入命令来进行简单测试:
edge-tts --voice zh-CN-XiaoyiNeural --text "你好啊,我是智能语音助手" --write-media hello_in_cn.mp3
运行完成后如果看到如下输出说明运行成功,当前目录下也会出现生成好的语音文件。

下面编写代码,我们可以做个简单的测试,在Longan Pi上搭建Web服务器,收到get请求后将参数转化为语音,返回给客户;PC作为客户端,语音识别后将文字内容发送给Longan Pi,然后收到返回后播放返回语音。
Longan Pi 部分代码:
from fastapi import FastAPI
from fastapi.responses import Response
import edge_tts

app = FastAPI()

@app.get("/")
async def mainapp(question):
    voices = await edge_tts.VoicesManager.create()
    voices = voices.find(ShortName="zh-CN-XiaoyiNeural")
    communicate = edge_tts.Communicate(question, voices[0]["Name"])
    out = bytes()
    async for chunk in communicate.stream():
        if chunk["type"] == "audio":
            out += chunk["data"]
        elif chunk["type"] == "WordBoundary":
            pass
    return Response(out, media_type="audio/mpeg")

if __name__ == "__main__":
    import uvicorn
    uvicorn.run(app, host="0.0.0.0", port=8088)
PC端代码:
import speech_recognition as sr
import requests
from pydub import AudioSegment
from pydub.playback import play
import io

r = sr.Recognizer()

while True:
    with sr.Microphone() as source:
        r.adjust_for_ambient_noise(source)
        print(">说点什么:")
        audio_in = r.listen(source)
        print("Processing...")
    try:
        text_input = r.recognize_whisper(audio_in, model="small", language="chinese")
        print("You said: " + text_input)
    except sr.UnknownValueError:
        print("Whisper could not understand audio")
        text_input = None
    except sr.RequestError as _error:
        print("Could not request results from Whisper")
        print(_error)
        text_input = None
    if text_input:
        print('http://192.168.199.124:8088?question=' + text_input)
        reply = requests.get('http://192.168.199.124:8088?question=' + text_input).content
        audio_out = AudioSegment.from_file(io.BytesIO(reply), format="mp3")
        play(audio_out)
其中PC端代码里的request get地址要改成Longan Pi的内网IP地址,PC与Longan Pi需要在同一个路由器下。
在语音识别部分,我们并没有使用官方的google在线方案,因为众所周知的原因无法使用。因此这里我们用了openai的离线方案whisper。需要在额外下载一个所需的库文件:
pip install SpeechRecognition[whisper-local]
运行代码,不出意外的话,这里会报错:
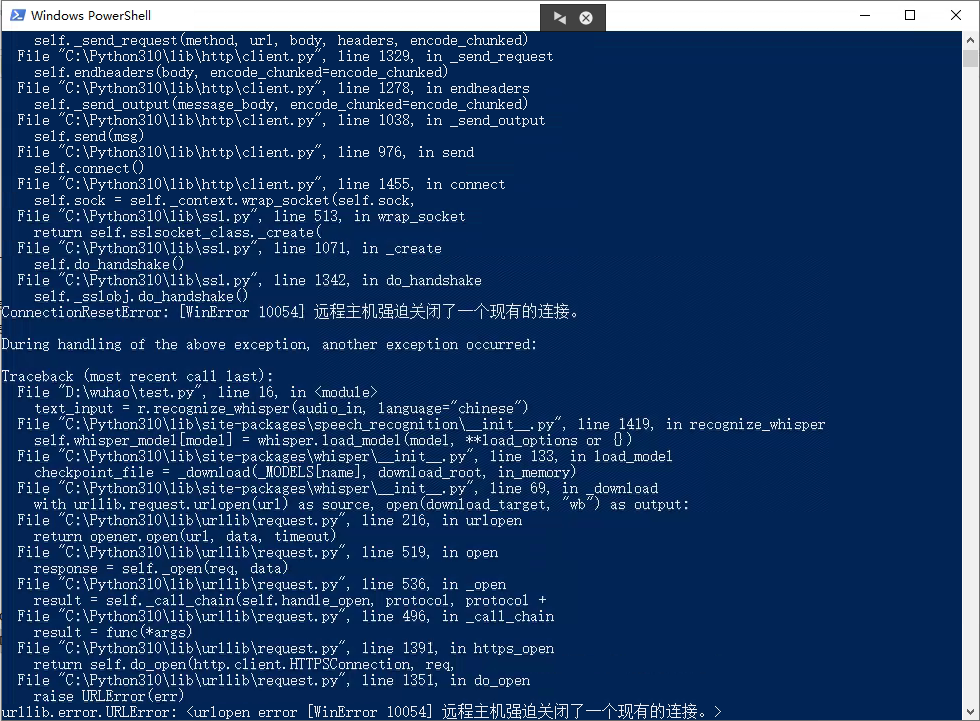
分析一下报错就可以得出原因,虽然模型是本地离线运行的,但是如果本地没有对应的模型的话,会首先去下载模型,而模型下载又因为众所周知的原因失败了。那这里我们就要去手动解决一下。首先跟着报错信息找到库文件
C:\Python310\lib\site-packages\speech_recognition\__init__.py
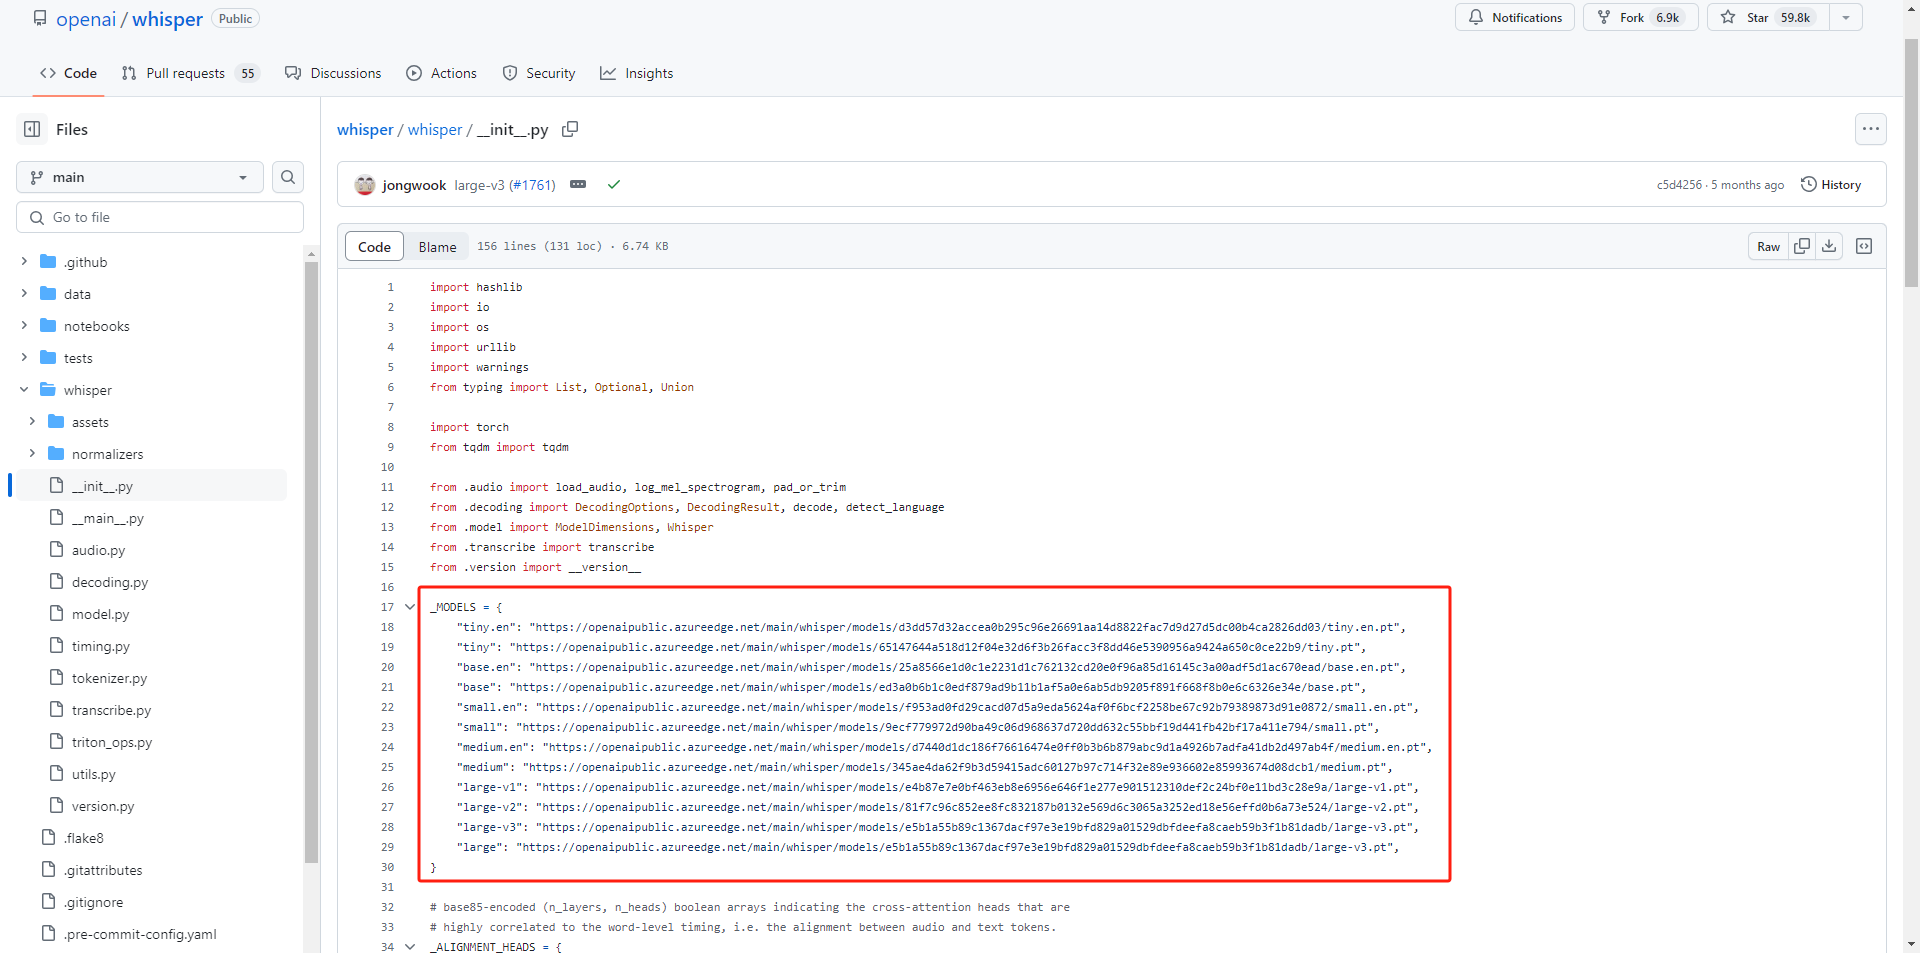
在文件中我们可以清晰的找到每一个模型对应的下载地址:
以及模型保存的路径:
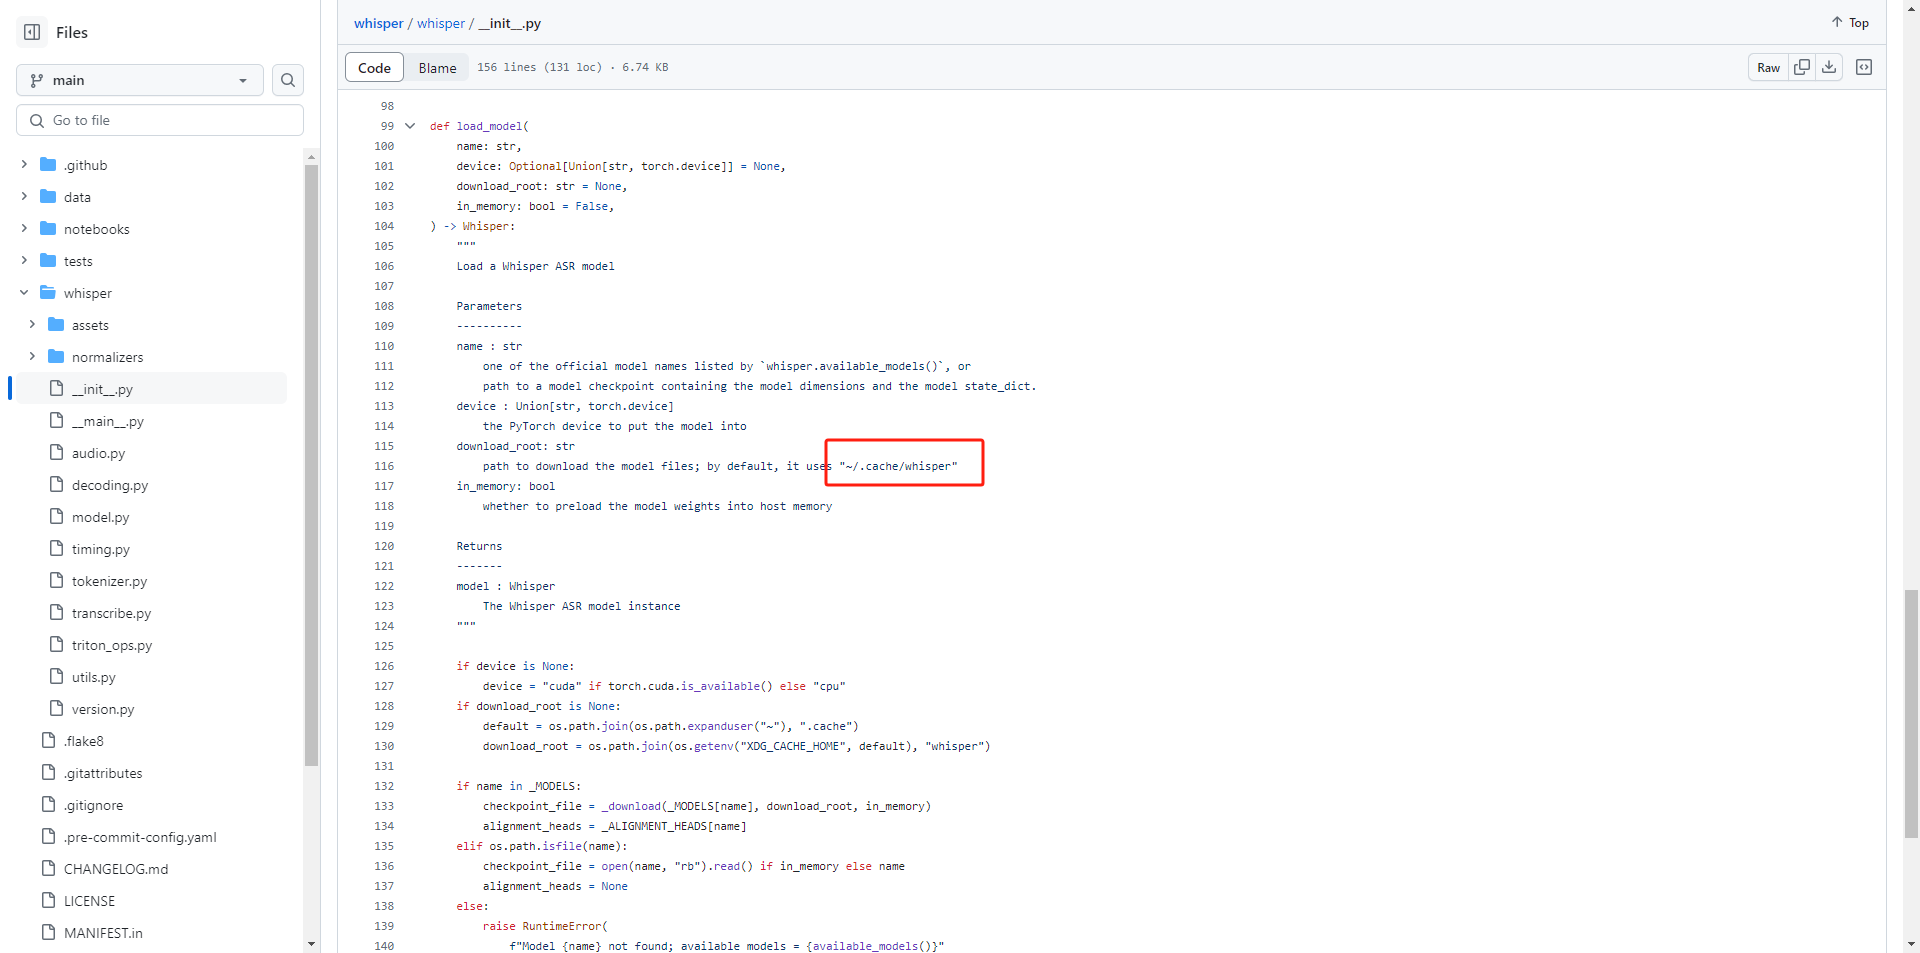
因为模型比较大,无法上传到william hill官网
,大家自行想办法把所需的模型下载下来,放到上面的路径中,再去重新运行,一切顺利的话,我们对着PC说话,很快就会听到我们的话被TTS复述回来。
 /7
/7 


 工商网监
湘ICP备2023018690号
工商网监
湘ICP备2023018690号


 1429
1429


 淘帖
淘帖


